How to clean a meat grinder?
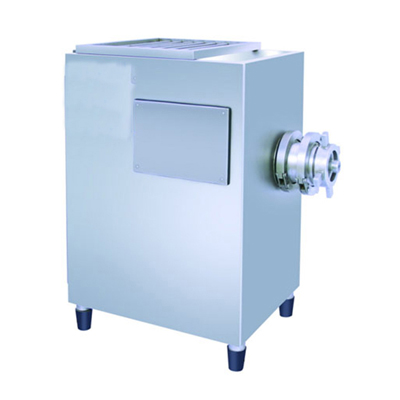
Cleaning meat grinder parts is essential to ensure food safety and maintain the performance and longevity of your grinder. Here's a step-by-step guide on how to clean different parts of a meat grinder:
1. Unplug and Disassemble the Grinder
Ensure the grinder is unplugged from the power source before beginning the cleaning process. Carefully disassemble the grinder by removing the hopper, grinding plates, cutting blade, and other removable parts.
2. Remove Excess Meat Residue
Using a spatula or brush, remove any large pieces of meat or food residue from the parts. This helps prevent clogs and makes the cleaning process easier.
3. Hand Wash the Parts
Grinding Plates and Cutting Blade: Soak the grinding plates and cutting blade in warm soapy water for about 10-15 minutes to loosen any remaining residue. Use a soft brush or sponge to scrub away any stubborn food particles. Rinse the parts thoroughly under running water to remove soap residue. Hopper and Other Attachments: Clean the hopper and other plastic or non-metal parts with warm soapy water using a sponge or cloth. Rinse well to ensure no soap residue remains.
4. Clean Metal Parts
Metal Grinding Plates and Cutting Blade: After soaking, use a brush with firm bristles to clean the small holes on the grinding plates. Clean the cutting blade with a brush to remove any residue that might be stuck in the crevices. If necessary, use a pipe cleaner or toothpick to clean hard-to-reach areas.
5. Sanitize the Parts
To ensure proper sanitation, you can use a mixture of water and mild bleach solution to sanitize the grinder parts. Make sure to follow the manufacturer's recommendations for using bleach or sanitizing agents.
6. Dry Thoroughly
After washing and sanitizing, make sure to thoroughly dry all the parts using a clean towel or air-dry them in a well-ventilated area. Moisture can lead to rust or bacterial growth if not properly dried.
7. Reassemble the Grinder
Once all the parts are clean and dry, reassemble the grinder according to the manufacturer's instructions. Make sure all parts fit securely in their designated positions.
8. Wipe Down the Exterior
Wipe down the exterior of the grinder with a damp cloth to remove any grease or residue that might have splattered during use.
9. Regular Maintenance
To prevent buildup of tough residue, clean your meat grinder parts immediately after use. Regular maintenance will make the cleaning process easier and help maintain the grinder's efficiency.
10. Lubricate Moving Parts (if applicable)
Some meat grinders require occasional lubrication of moving parts with food-grade lubricant. Refer to the manufacturer's instructions for proper lubrication procedures.
11. Store Properly
Store your clean and dry meat grinder parts in a cool, dry place to prevent moisture accumulation and ensure they remain in good condition for future use.
12. Read the Manufacturer's Instructions
Always refer to the manufacturer's cleaning and maintenance instructions specific to your meat grinder model. Different grinders may have slightly different cleaning procedures and recommendations. By following these steps and maintaining a regular cleaning routine, you can ensure that your meat grinder remains in excellent condition and produces safe and high-quality ground meat for your culinary needs.


